I thought I might try some painting. This is a new area for me, as I haven’t attempted any artistic activities since those childhood scribblings from way back when. Won’t you join me while I explore the prevailing wisdom that anyone can be an artist.
Step 1: Assemble Materials (aka can’t paint without paint)
The total cost of my materials came to roughly $65. I’m sure that cheaper supplies exist, but I did not spend too much (any) time shopping around for deals. My beginner kit contains the following:
- Canvas Paper: Canson Foundation Canva-Paper 136lb, 9″x12″, 10 sheets.
- Paint: Liquitex acrylic color set containing Red, Yellow, Blue, White, and Black.
- Brushes: Princeton RealValue Synthetic-Golden Taklon 6 brush set including:
- 3/4″ Wash
- 1/2″ Angular Shader
- Number 12 Round
- Number 6 Round
- Number 2 Liner
- Number 1 Round
- One cheap plastic palette
- One cheap plastic palette knife
- One completely unnecessary storage box (ArtBin 6891AG)
- Several old yogurt containers from the trash bin
- Paper towels stolen from the kitchen
- Dish soap for cleanup, though I suspect that any soap will do.
Step 2: Figure out how to spell Palette
Palate – The top of the inside of your mouth, this term also can refer to the sense of taste.
Pallet – A slab or structure used to carry things.
Palette – A range of colors or surface used to arrange colors.
Step 3: Create Space for Arting
As they say, an ounce of prevention is worth a pound of cure. Knowing from experience that paint does not like to be contained, I took a few minutes to clear up some table space and make sure that any wayward paint would not have access to the carpet, couch, walls, floor, drapes, bookshelves, television, or anywhere else that would get me in trouble.
Step 4: Paint + Paper = Art!
I found these random tips to be useful while sloppily smearing paint about on the paper. Maybe you will find them useful too.
-Don’t eat the paint.
-Keep brushes in cups of water to prevent paint from drying on the brushes.
-Add water to thin out the paint (if you’re into that sort of thing).
-Blot brushes on cloth or paper towels to remove excess water.
-Mixing colors is fun.
-Add paint to the palette in small amounts to prevent it from drying out too fast.
Step 5: Cleanup
Some people say this is the most important step. I agree because I don’t like sleeping on the couch. Pro tips: Do not dump unused paint down the sink. Instead, wipe it up with a paper towel to save your plumbing. Also use soap and warm water to clean the paint out of your brushes. Rinse well and dry before storing.
Step 6: Show and Tell
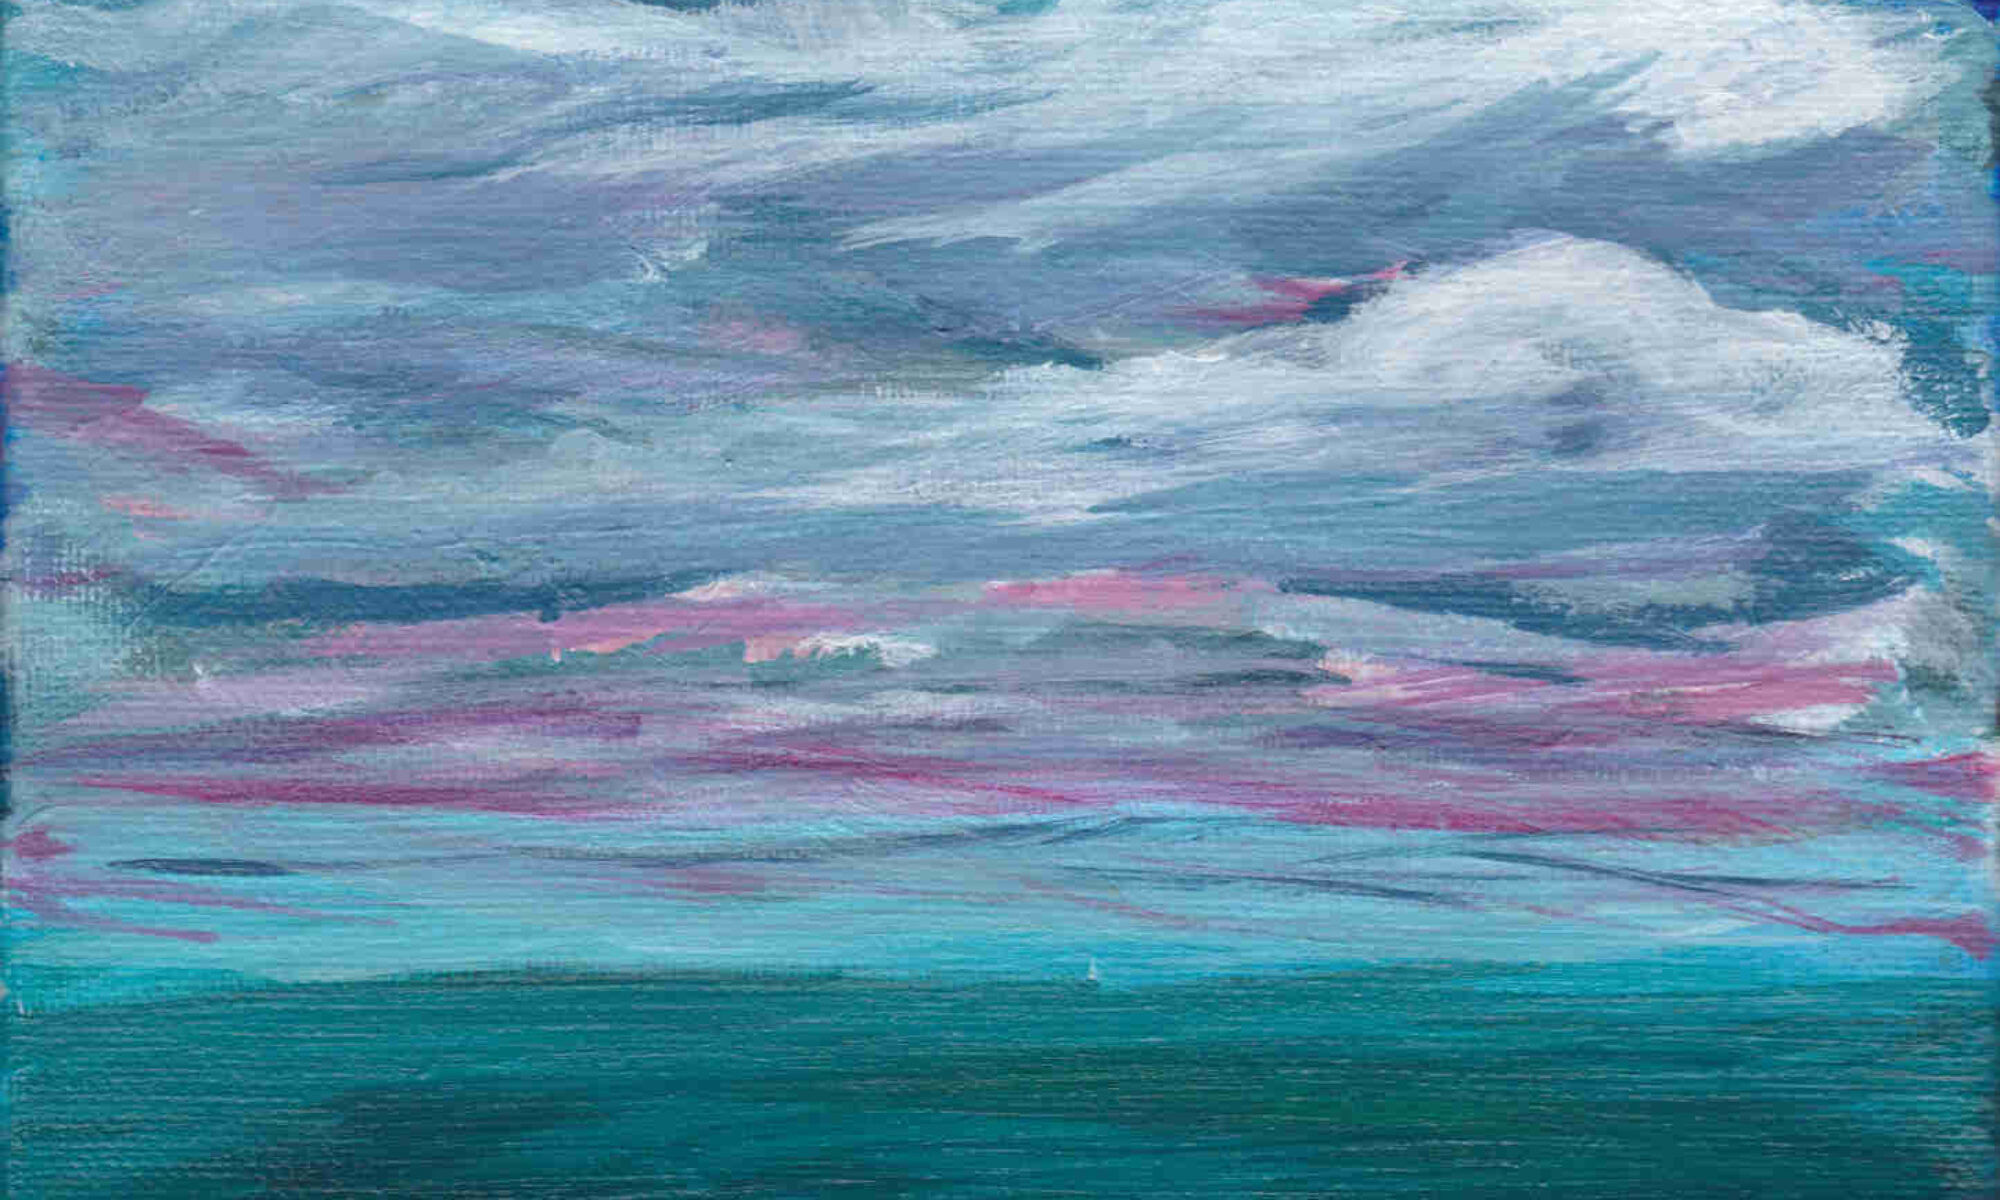
Here is my very first attempt at pushing paint around on paper. No subject, no plan, no purpose, no regret. I’ll call it ‘premier essai’ (french for ‘first try’).

Useful resources that I found useful:
Frank Clare’s Introduction to Acrylics. Great first look at the process for absolute beginners.
https://youtu.be/O33k0eQQ07E
Good step-by-step tutorial for beginners like me.
https://feltmagnet.com/painting/Acrylic-Painting-for-Beginners-Step-by-Step
Color wheels are cool
https://en.wikipedia.org/wiki/Color_wheel
Support local business! This is where I purchased my materials.
https://www.texasart.com


Keep pushing and pulling the paint!