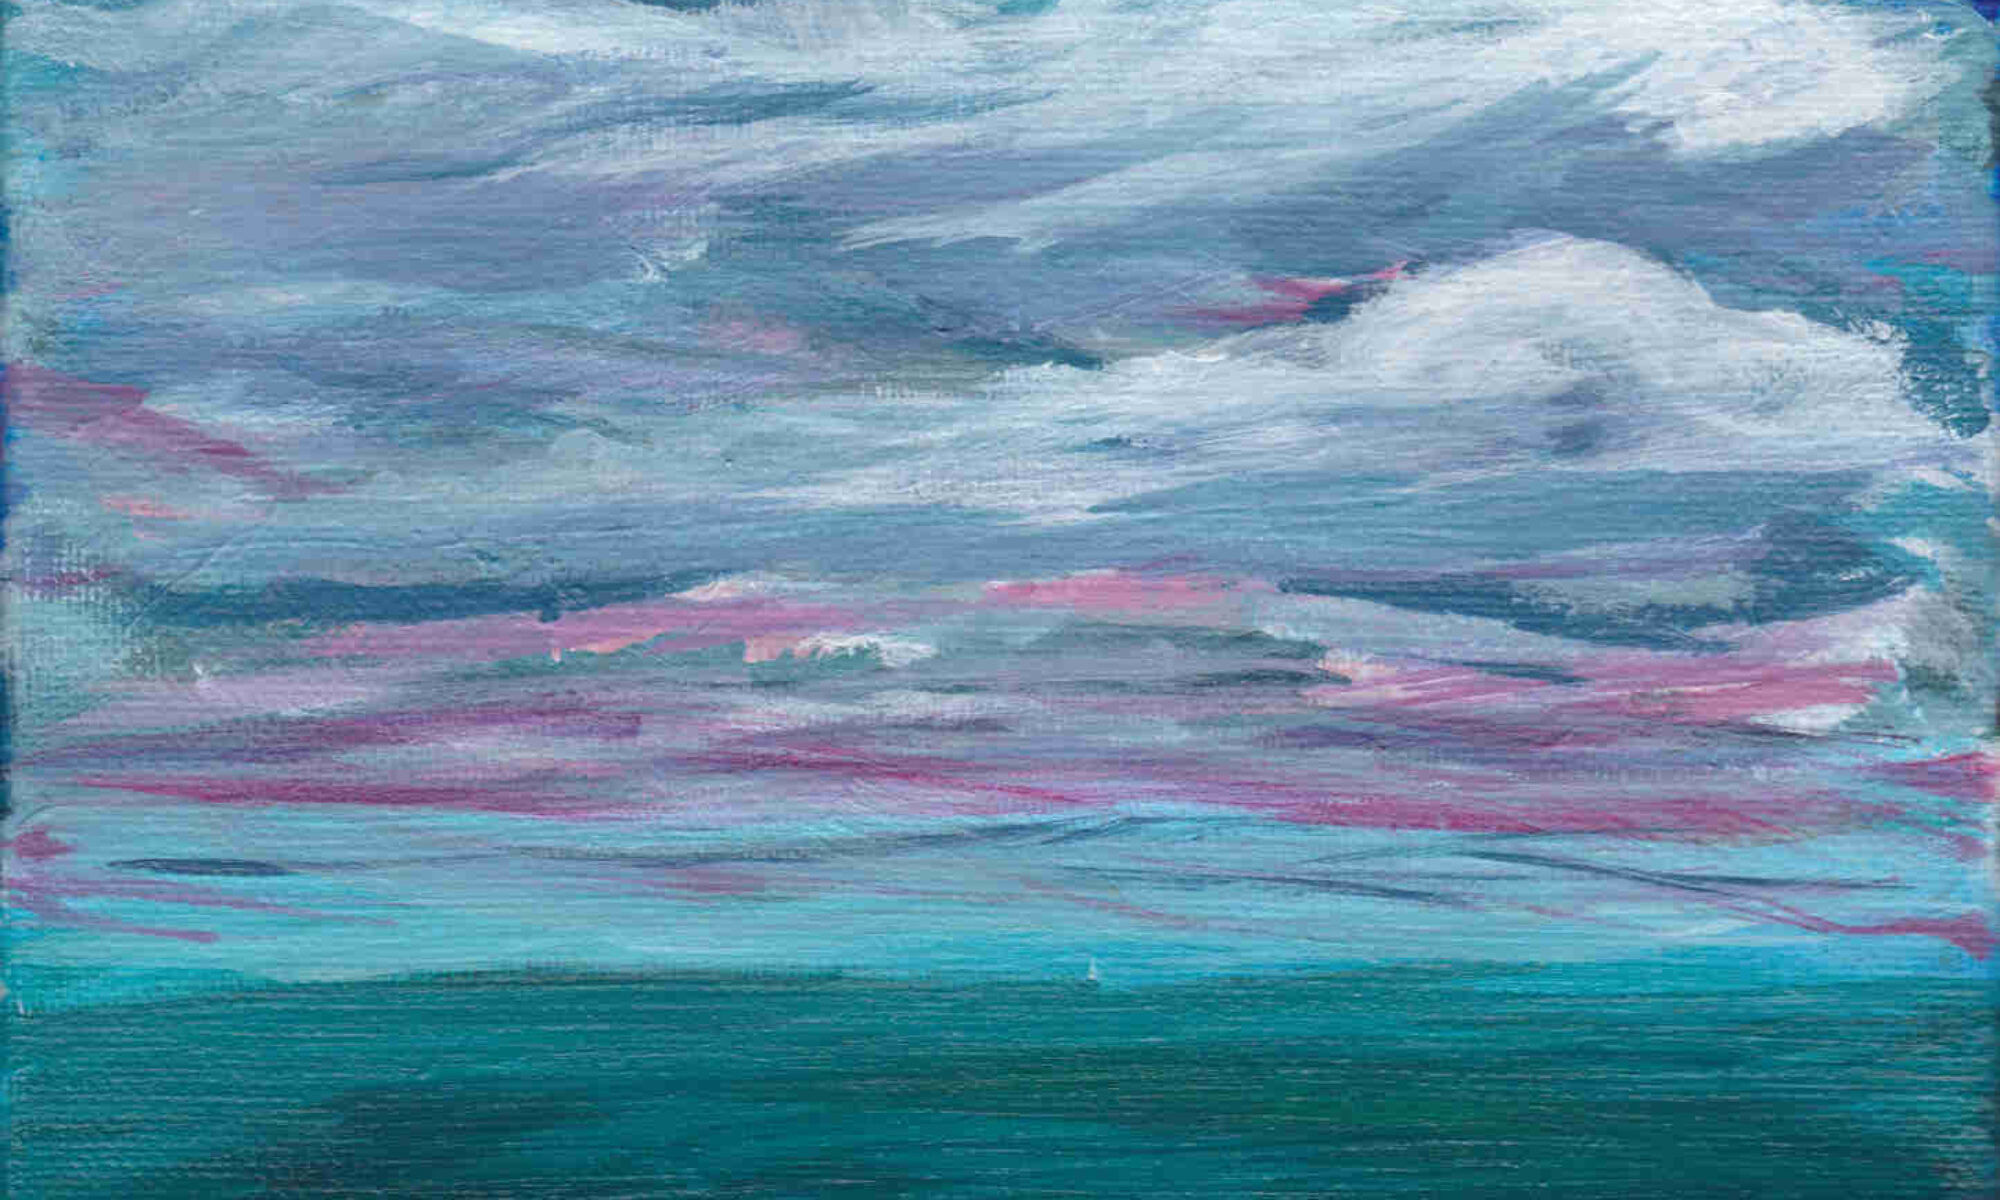
I made a video! I am now one of almost 40 million YouTube content creators. While not a difficult process, there was more to it than I expected.
First, I had to get comfortable painting. Not good, just comfortable.
Second, I needed a camera. I scoured the internet for product reviews on cameras, video recorders, and fancy equipment. Then I just used the camera on my cell phone.
The next challenge was to set up my cell phone so that it 1. had a good view of my working area, 2. wouldn’t fall over, and 3. was out of the way. To do this, I turned to the tripod I purchased during my “look at me, i’m a photographer” phase. Interestingly, “Eocean” was the brand name on my tripod receipt, however the tripod I received is clearly labeled “Yunteng” VCT-1688. Who knows what you’ll actually get when you buy from amazon?
Once the camera was situated, I noticed several inconvenient shadows lurking in my work area. I spent thirty minutes rearranging my workspace to eliminate the shadows, then lowered my expectations of what good lighting looks like. After that everything looked fine.
With adequate lighting secured, I hit record on my phone and started to paint. A few minutes into the project I noticed that my camera was on the wrong side, so I did a hot swap. I’m sure that a more enterprising filmmaker would have double checked the setup first but hey, perfection is a process.
After painting, I transferred the newly minted video files to my computer and searched for a way to edit them. I ended up choosing a free and open source video editor called Shotcut, which worked out pretty well.
I then had to battle a troll named Copyright that lives under the bridge of creativity (meaning that I selected music to accompany the video). As in life, you get what you pay for and the good stuff isn’t free. Those of us not backed by bloated business budgets are bound to booking bargain bin boondoggles from the internet’s bottomless baroque bonanza (credit – freedicitonary). This is not a task to be taken lightly, and there are consequences for taking shortcuts. I found some no/low cost options including YouTube’s own music library, Musopen, and FreePD. The key is to pay attention to the licensing and attribution requirements for each song, and don’t be that guy.
Finally, the video was set, the audio lined up, the .mp4 file rendered, and my project was ready for YouTube. I’ve heard that rendering a video project can take a while, however I had my video ready to go in about an hour. I uploaded the video by navigating to YouTube’s design studio, choosing the ‘upload new video’ option, filling out the information fields, and selecting “publish”.


